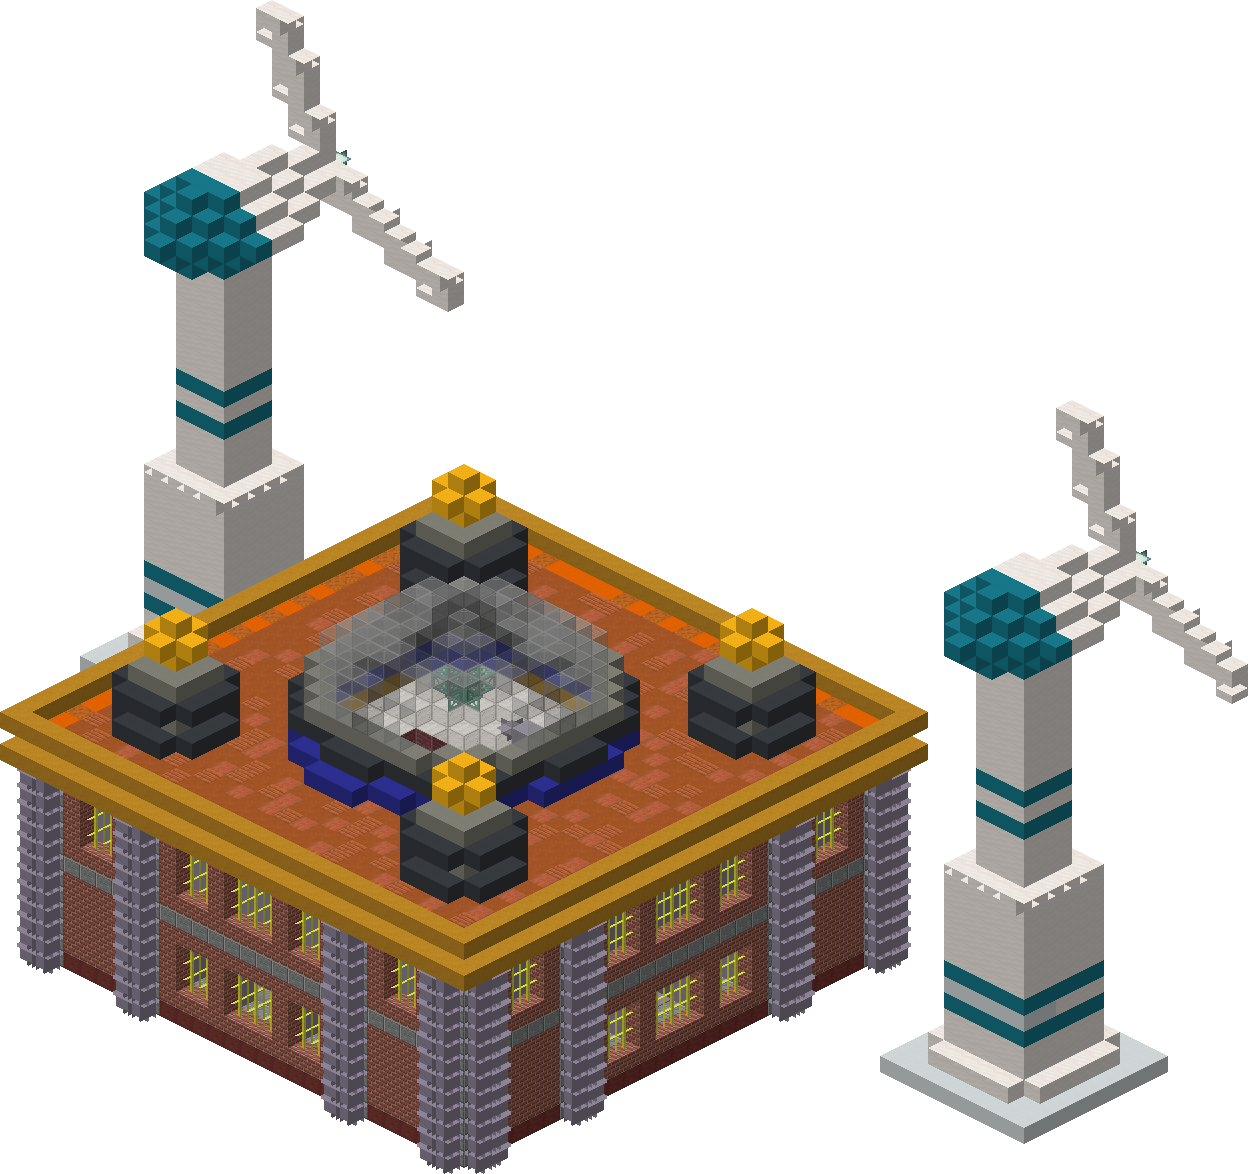
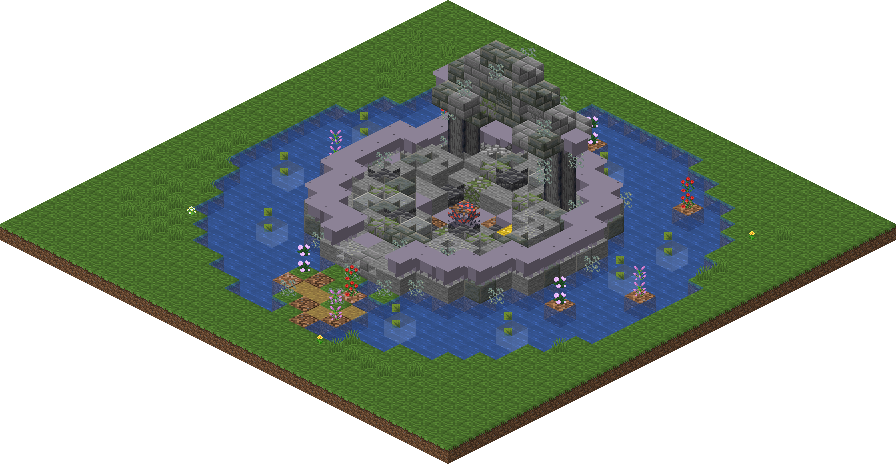
COBBLEVERSE hides several multi-floor dungeons guarded by Team Rocket and Team Galactic, plus a few stranger places. Each guide below is generated from the actual structure files: the trainers listed are the ones the building really spawns, and every recipe and drop is verified against the pack data. Click any picture to open the interactive 3D viewer and slice the roof off to see the rooms.
Radio Tower
Johto (opt-in datapack)recommended level 70+
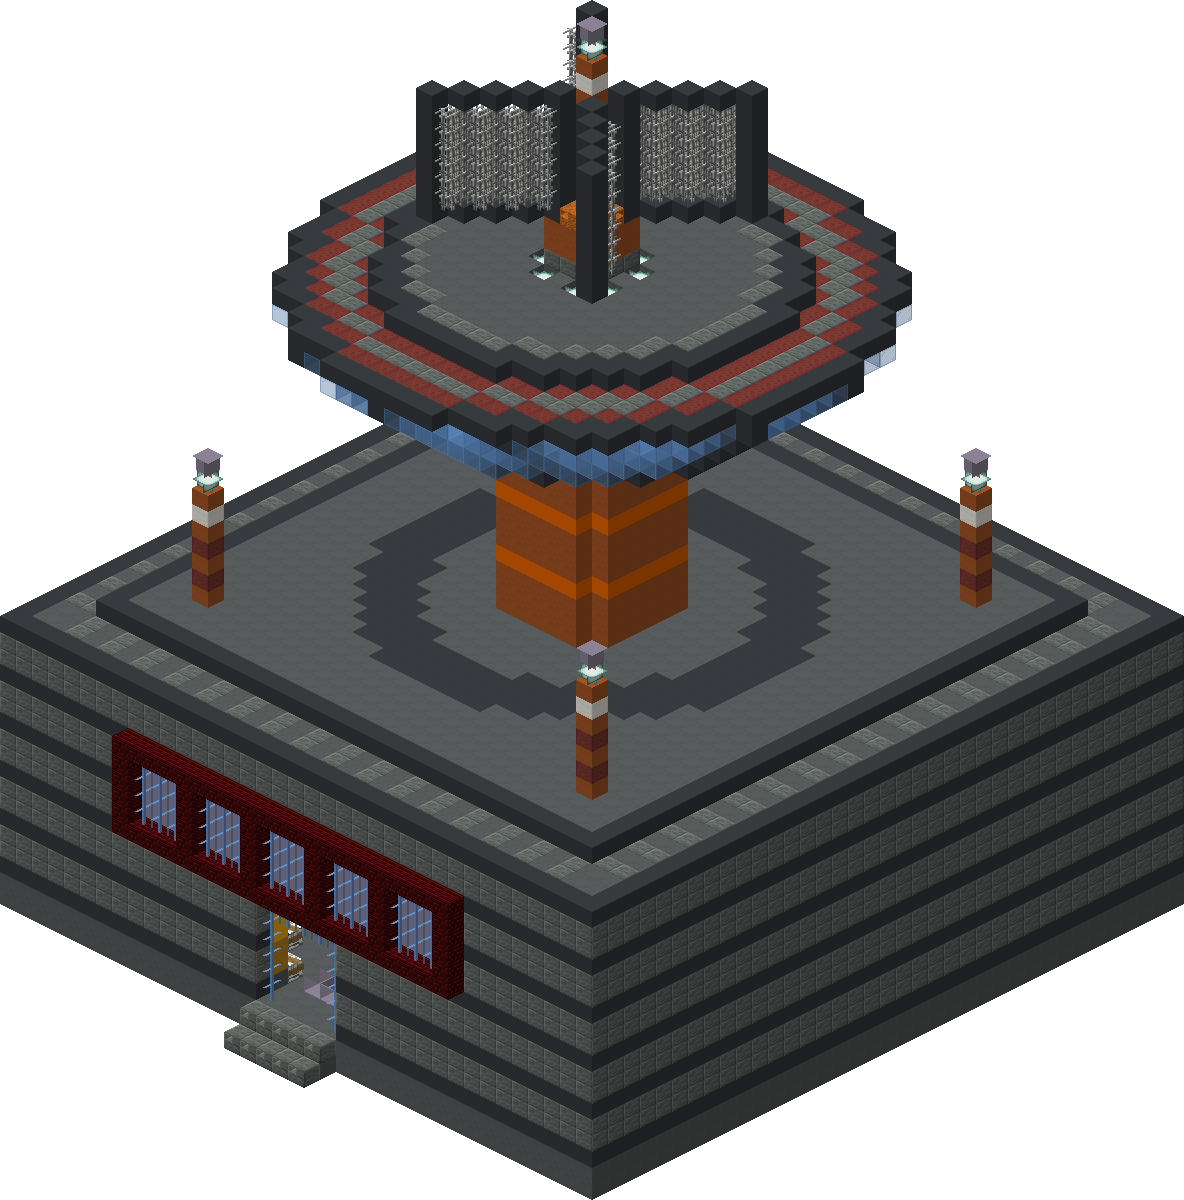
The Rocket Radio Tower is Team Rocket's Johto broadcast base and the home of the pack's Shadow Lugia storyline. A 41x42 footprint climbs roughly 60 blocks from a lobby and fossil lab, through a library floor and a chimney maze, to Giovanni's penthouse under the antenna. Two lectern logs ("PROJECT XD001" and "Shadowfall") set up the plot: Team Rocket's shadow power source was shattered into fragments after Shadow Lugia broke containment. In play that means 8 Corrupted Shards hidden in containers across the tower, a Shadow Heart from Apollo, and the Silver Wing from Giovanni — everything you need to summon Lugia at Whirl Island and flip it into its Shadow form. With guards up to level 72, this is endgame content: bring a healed level 70+ team and spare Poke Balls.
click to explore in 3D (slice the roof off to see the rooms)
Finding it:
The tower generates only when the Johto datapack is enabled, in savanna biomes (random spread, ~150-chunk spacing, and it keeps its distance from Koga's structure set). The intended locator is the Radio Card — shaped recipe verified in the Johto datapack: Red Card, Trial Key, Red Card on the top row, three Iron Ingots below. Its tooltip reads "Locates the signal source of the Rocket Radio Tower in Johto", and the mod ships a dedicated radio-tower map marker; community-reported: you redeem the card at the Johto Cartography Table (craftable from 3 Azure Balls, 3 planks and a sheet of paper) to receive the locator map. Trial Keys drop from vanilla Trial Chambers — and several more are stashed inside the tower itself for future crafts. Manual fallback: /locate structure cobbleverse:rocket_radio_tower.
Rooftop boss. Ground-heavy six: Tyranitar, Rhyperior, Nidoking, Kangaskhan, Garchomp, Torterra; four Full Restores. Guaranteed Silver Wing on first defeat; rebattleable (up to 10 total defeats), with a chance at further Silver Wings and legendary-grade loot.
Admin on the second floor. Poison- and Ground-heavy team (Drapion, Clodsire, Sharpedo, Glimmora, Gastrodon, Hippowdon). One-time battle - drops the Shadow Heart plus a Team Rocket TM on first defeat.
The shard chain. Exactly 8 Corrupted Shards are placed in the tower's containers (verified in the structure file): a barrel below the ground floor, the front-desk chest, a barrel on the mezzanine, a gilded chest and a loot-stashed side table on the library floor, a barrel and a sculk-filled trapped chest in the maze, and a barrel on the top floor. Combine all 8 around Apollo's Shadow Heart in a 3x3 grid to craft the Shadow Soul Stone — its tooltip confirms it "Transforms Lugia into its Shadow Form" and that a second right-click reverts it, so the toggle is reusable.
Boss drops.Apollo guarantees the Shadow Heart on his single allowed defeat. Giovanni guarantees the Silver Wing first time down — tooltip: "Required to summon Lugia at the Whirl Island" — and repeat wins roll legendary-tier loot pools that can drop additional Silver Wings.
Other highlights. A Synthetic Matrix sits in a barrel beside the library lectern; smith it onto a Netherite Chestplate (with a Move Upgrade Smithing Template) for Rocket Armor, which "unleashes Mewtwo's true armored potential". Also verified in containers: a Mega Stone in a study gilded chest, TM Shadow Ball, TMs Bonemerang, Petal Blizzard, Noble Roar, Clear Smog and Rock Polish, a Sail Fossil and Armor Fossil loaded in the lab's blast furnaces, a Dragon Egg in the ground-floor vault, 5 Trial Keys and 3 Ominous Trial Keys, Ancient Debris, a Max Revive, mints, gems, relic coins and pouches, Moon/Luxury/Dusk and ancient Poke Balls, and a Ground Memory.
Walkthrough
Ground floor - lobby and lab. Four spawners guard the entrance level: Agents (up to 50), Grunts (mid-40s), Scientists (mid-50s) in the fossil lab, and — the trap for underleveled parties — Officers at 70-72. The lab holds a Fossil Analyzer, Restoration Tanks, and two blast furnaces pre-loaded with the Sail and Armor Fossils. A lectern log ("PROJECT XD001") introduces the Shadow Lugia experiment. Shards here: the front-desk chest (community-reported: behind the lattice), a barrel tucked below floor level, and a mezzanine barrel with Luxury and Moon Balls. The floor also hides a redstone vault — dozens of decoy levers wired across the walls with four iron doors and a Dragon Egg inside; community-reported: only specific levers open the doors, so flip methodically.
Second floor - library and Apollo. Spies (Ghost-heavy teams, ~60) and Scouts (~65-67) patrol here alongside Apollo. The library lectern holds the "Shadowfall" log — the shattering of the shadow power source. Two hidden levers are community-reported on this floor: one in the library's back corner and one under a sofa, each opening a secret room. Verified container finds: a Corrupted Shard in a gilded chest, another inside a side table in the brewing-stand room, the Synthetic Matrix barrel behind the lectern, the Mega Stone gilded chest, Trial Keys in decorated pots, and a white gilded chest with an Ominous Trial Key.
Maze floor. Above the library, a chimney maze with a dozen levers and weathered copper doors. Two trapped chests packed with sculk veins hold a Corrupted Shard and an Ominous Trial Key — expect a redstone sting when you open them. A dead-end barrel (community-reported: marked by a lantern) hides another shard, and a barrel near the trapped chests carries Ancient Debris and relic coin pouches.
Tower top - Giovanni. The penthouse under the antenna is Giovanni's: a level 68-70 Ground-core six with four Full Restores in his bag. The final shard barrel sits on this floor (community-reported: behind one of the ancient statues), along with Trial Keys, a Max Revive, Dusk Balls and TM Rock Polish. Beat him for the Silver Wing, craft the Shadow Soul Stone from your 8 shards + Shadow Heart, then head to Whirl Island: the Silver Wing summons Lugia, and the stone toggles it between normal and Shadow form at will. A Lugia Radar (a Psychic Gem, a Poke Radar, 2 Water Stones and 3 Amethyst Shards) is craftable if you need help finding the island.
Team Rocket Tower
Kanto (active by default)recommended level 80+
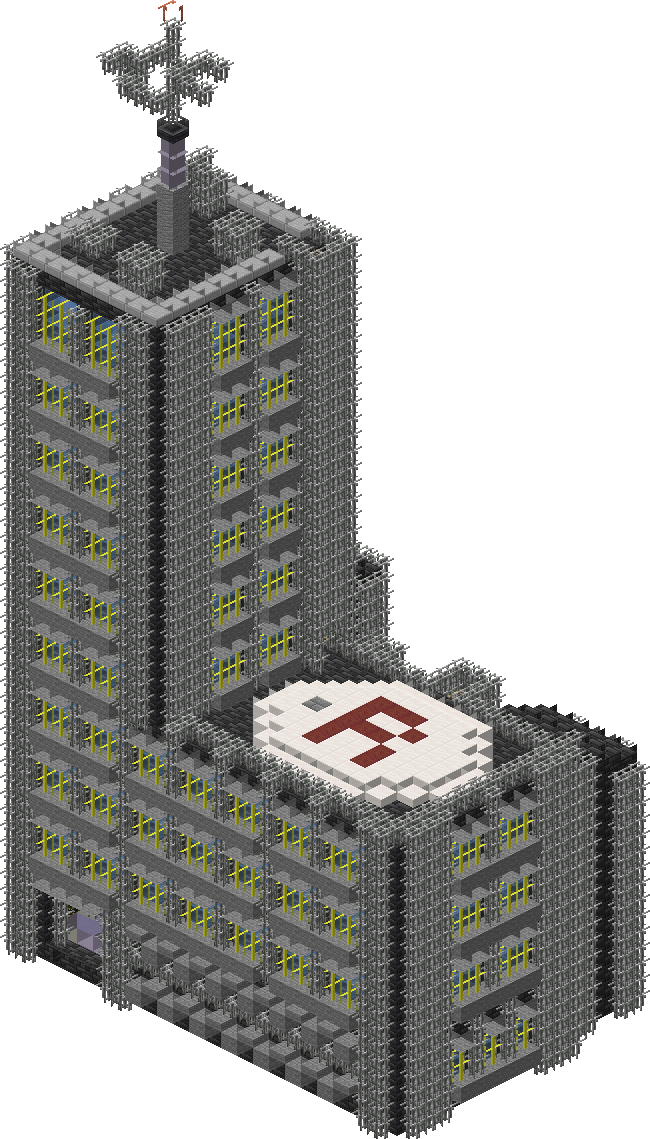
A 60-block black-and-red skyscraper in the badlands and Team Rocket's Kanto headquarters. Six ranks of Rocket trainers respawn from cycling spawners on the way up — Grunts around level 45 at the lobby to level-80 bosses at the top — making it both a trainer gauntlet and a reliable Trial Key farm. The prize is the Cloning Catalyst from Admin Atena: paired with Ancient DNA (Giovanni's first-defeat drop at his own gym) it creates Mewtwo in the resurrection machine, and the tower even stocks loose Monitor and Fossil Analyzer machine blocks you can pick up for that build. Note that Giovanni himself does not appear here — his hideout is a separate deep-dark structure. There is no Berserk Gene in this pack; the tower's Mewtwo endgame instead runs through the Cloning Catalyst and the craftable Rocket Armor (Netherite Chestplate + Synthetic Matrix + a Move Upgrade Smithing Template at a smithing table), which "unleashes Mewtwo's true armored potential".
click to explore in 3D (slice the roof off to see the rooms)
Finding it:
Craft a Rocket Key — 3 Tinted Glass, 1 Destiny Knot and 1 Iron Ingot in a shaped grid (glass at top-middle, top-right and middle-right, knot in the center, iron bottom-left). The key is registered directly to this structure and "secretly transmits the coordinates of the Team Rocket Tower" with its own map marker; you redeem it at the pack's Map Trader block like the other locator keys. A spare Rocket Key also sits in a black drawer inside Giovanni's Gym (the separate cobbleverse:giovanni hideout).
Manual route: /locate structure cobbleverse:team_rocket_tower. The tower generates only in the Badlands biome proper (minecraft:badlands, not the eroded or wooded variants; spacing 60 chunks, separation 30). A 1-in-100 roll generates the "shiny" variant of the tower instead.
Top-floor boss; drops 1-2 Ominous Trial Keys per win for the first four defeats, plus Z-Move or TM loot
Loot & collectibles
Key items: Admin Atena's loot table rolls a guaranteed Cloning Catalyst — "catalyzes the creation of Mewtwo in the Resurrection Machine when paired with Ancient DNA". General Archer pays out 1-2 Ominous Trial Keys per win (first four defeats), every Grunt drops a Trial Key, and more of both keys sit in the top-floor barrels — community-reported, the Ominous Trial Keys are what open the vault at the Johto Radio Tower.
Container highlights (verified in structure data): a rooftop hopper at the antenna tip holds a Darkinium-Z; a generals'-floor barrel holds 11 Dark Tera Shards plus 2 Trial Keys and an Ominous Trial Key, with a second barrel of 11 White Apricorns and another Ominous Trial Key, and a decorated pot hiding a Trial Key; Atena's floor has 9 Relic Coins + an Ominous Trial Key in one barrel and Calcium, PP Max, Iron and 2 Exp. Candy M in another; the lobby's black gilded chest carries 5 Slate Balls and 7 Black Apricorns, next to a barrel of 13 Relic Coins; office barrels on floors 3-4 hold 2 Rare Candies, Poke Balls and an Ominous Bottle (floor 3) and a Dark Gem (floor 4). Chiseled bookshelves on floor 2 hide Efficiency III, Sharpness III and Piercing II enchanted books.
Machine parts: an unformed Monitor (floor 2) and Fossil Analyzer (floor 3) can be broken and taken — two of the three blocks of the fossil resurrection multiblock, alongside the Restoration Tank you supply yourself. A free PC sits on floor 4.
Walkthrough
Lobby: a spawner behind the front desk cycles four Team Rocket Grunts (lv 43-45; Golbat/Weezing/Arbok squads plus one Raticate/Magneton/Mightyena set). Grab the relic-coin barrel and the black gilded chest, then head up — a button opens the iron door (community-reported: in the back-left corner).
Floor 2:Team Rocket Agents (lv 44-50) hold the east lounge. Break the Monitor screen here and pocket it for your Mewtwo machine, and check the west bookshelves for enchanted books.
Floor 3: a double fight floor — Team Rocket Spies (lv 58-60, Ghost-heavy squads: Gengar, Mismagius, Banette, Trevenant and Mimikyu, all backed by a Crobat) on the west side and Team Rocket Scientists (lv 45-56, fossil teams: Kabutops, Omastar, Aerodactyl, Porygon line) in the east lab, where a Fossil Analyzer block is free to take.
Floor 4:Team Rocket Officers (lv 59-72, Poison/Ground bruisers) guard the office block with the Dark Gem barrel and a usable PC.
Floor 5:Team Rocket Scouts (lv 64-67) are the last regular rank before the long ladder shafts up the tower core.
Generals' floor: the banner-draped war room near the top spawns Team Rocket General Archer (lv 77-80: Houndoom, Muk, Magmortar, Weezing, Probopass, Golbat, 3 Full Restores). Its spawner also lists a "team_rocket_general_atena" id that has no trainer definition anywhere in the pack data, so Archer is the fight you get. Loot the apricorn and Tera Shard barrels and the Trial Key pot before moving on.
Atena's office: directly beneath the generals' floor is a sealed admin room holding Atena (lv 78-80: Arbok, Vileplume, Muk, Hypno, Honchkrow) — community-reported, you reach it by breaking through the floor under Archer's room, which matches the room's position in the structure data. Every win against her banks a Cloning Catalyst. Note: the rare shiny tower variant omits her dedicated spawner.
Rooftop: climb the antenna scaffolding above the war room to a hopper at the very tip containing the Darkinium-Z.
After the tower: combine the Cloning Catalyst with Ancient DNA — Giovanni's first-defeat reward at his separate deep-dark gym, which also stocks a spare Rocket Key and a fully formed Restoration Tank — to resurrect Mewtwo.
Team Galactic HQ
Sinnoh (opt-in datapack)recommended level 85+
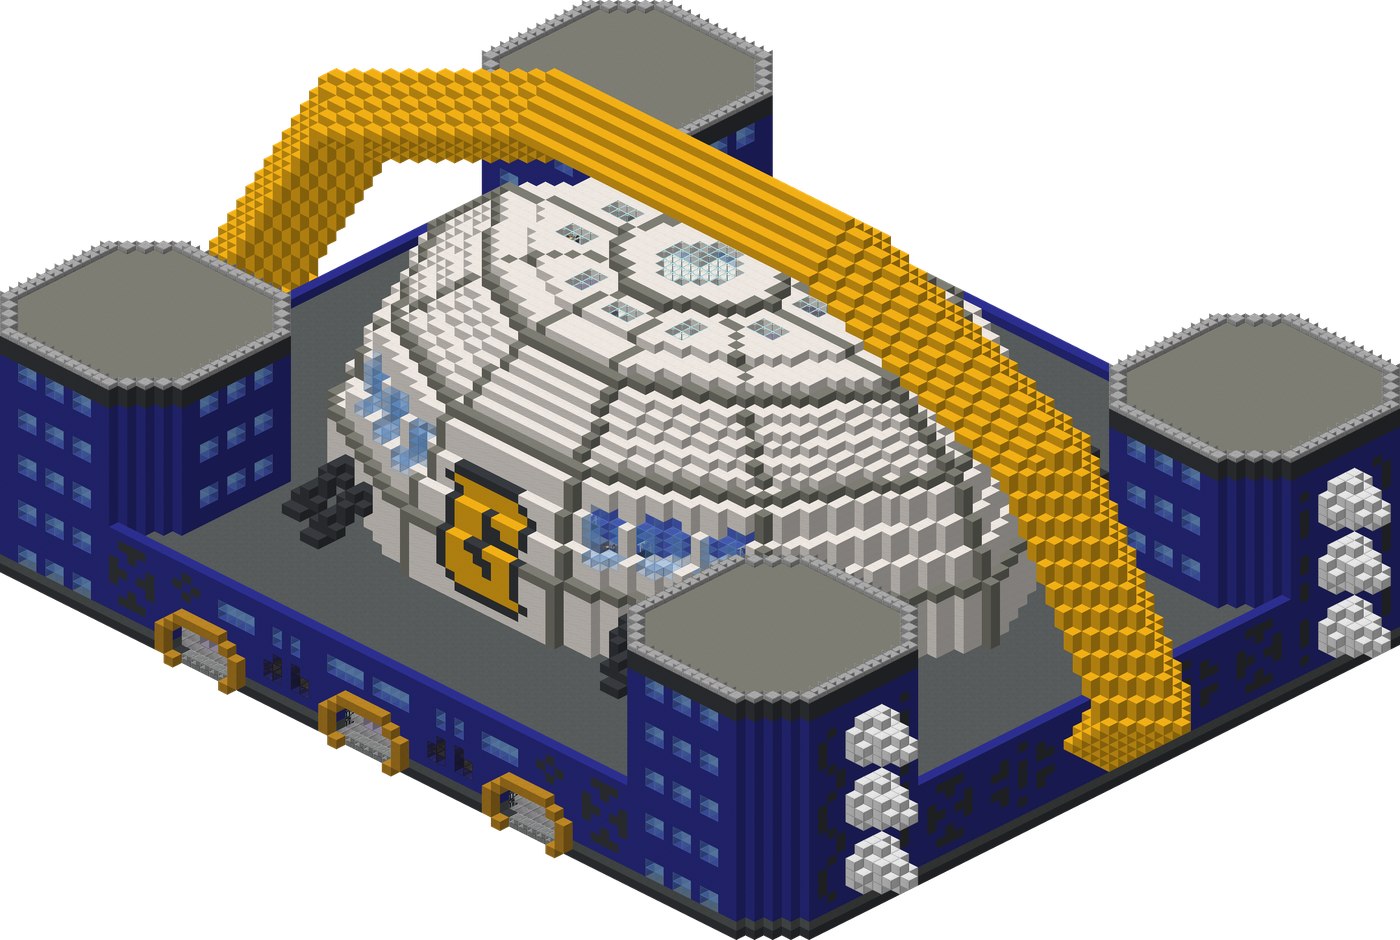
The Team Galactic HQ is the finale of the opt-in Sinnoh datapack's villain arc and the biggest Galactic structure in the pack — a 112x80 office tower complex, 53 blocks tall, stuffed with 27 trainer spawners across labs, offices, a gym, a canteen and dormitory floors. It exists for one reason: Cyrus waits in the central tower and your first win over him is a guaranteed drop of the Red Chain, the item that summons Dialga, Palkia and Giratina at their altars. The building also hides the Adamant Orb and Lustrous Orb, plus the Torn Journal and two Torn Pages used toward the Old Journal that reveals Turnback Cave. There is no Master Ball here — the prize is the Red Chain and the legendary-item side loot. Storyline order matters: Commander Jupiter (Eterna Building) unlocks Saturn, and Saturn unlocks Cyrus.
click to explore in 3D (slice the roof off to see the rooms)
Finding it:
Craft the Galactic Keycard — 1x Recovery Compass, 1x Advanced Wireless Terminal and 3x Cyan Plaque (compass on top, terminal center, plaques on the sides and below). The keycard is a LumyMon locator item bound directly to this structure — its tooltip reads "Encrypted card that transmits the location of the Team Galactic HQ" (community-reported: pairing it with a map at a cartography table charts the nearest HQ). Command fallback: /locate structure cobbleverse:team_galactic_hq. The HQ generates only in Steppe biomes (terralith:steppe) at 140-chunk spacing with a 75% placement rate, so expect a long flight without the keycard.
Three front-desk spawners reference the receptionist group. Every receptionist runs a single level 100 Venusaur — an optional gag fight far above the rest of the building. Skippable.
West tower upper floor. Drops paper and books with a chance of a PC or monitor, a Trial Key, or — rarely — one of the four Genesect drives (Burn/Chill/Douse/Shock). Rebattleable up to 3 defeats.
East tower upper floor; six-mon level 70 team. Drops 1-2 guaranteed Ominous Trial Keys plus a chance at one of the 17 type memory discs (for Type: Null/Silvally). Up to 3 defeats.
West tower commander. Locked until Commander Jupiter (Eterna Building) is beaten. Drops the Valor Proof (reveals Lake Valor for the Azelf trial) on every win; rare mochi and Ominous Trial Keys only start rolling from your sixth defeat of him (rebattleable up to 20 career defeats).
Final boss, central tower arena. Locked until Saturn is beaten; only 2 career defeats allowed. The Red Chain is a guaranteed drop on your first win only — the rematch instead rolls rare candies, TMs or an Ominous Trial Key. Carries 5 Full Restores.
Loot & collectibles
Guaranteed placements verified in the structure file: the Adamant Orb sits in an item frame in the east-tower lab and the Lustrous Orb hides in an invisible glow frame nearby — both are held-item boosts for Dialga and Palkia. The Torn Journal (east-wing library bookshelf) and two Torn Pages (an upper shelf of that same library, and the top-floor suite) combine with a third page found elsewhere into the Old Journal, which reveals Turnback Cave. A Locator Chip sits in an upper-floor wall cabinet, two Trial Keys are slotted into chiseled bookshelves with two more hidden in invisible item frames on the ground floor, an Ominous Trial Key sits in a jungle barrel beside a Totem of Undying, and a blue gilded chest near the lobby holds 9 Relic Coins and a Relic Coin Pouch. Display cases (breakable) hold an Ability Patch, a Dubious Disc, capture/suspicious sherds, tumblestone samples, Mega Meteorid ores and Distortion-block specimens. Two Gimmighoul chests spawn coin-hoarders on the west tower.
Rolled loot: 8 premium containers use the team_galactic_hq table (Tera Shards of every type, 3-5 Poke Ball rolls up to Ultra Ball, mints, evolution items, relic coins), 30 more containers — 17 wall cabinets, 8 nightstands, four gilded chests and a barrel — use the weaker team_galactic_generic table, and one gilded chest in the east wing rolls the spear_pillar table (tumblestones, Hisuian ancient balls, remedies, 4-12 relic coins). Trainer drops are the real prizes: the Red Chain from Cyrus, the Valor Proof from Saturn, Genesect drives from the Supervisor and memory discs from the Lab Director. No Master Ball generates here — but the Ominous Trial Keys bosses drop can open ominous trial chamber vaults, which have a small Master Ball chance in this pack.
Walkthrough
1. Gear the run. Craft the Galactic Keycard, use it to pinpoint the HQ and fly to the Steppe. Bring a level 85+ team with Fighting, Electric and Ground coverage — the building is Dark/Poison/Steel-heavy — and beat Commander Jupiter at the Eterna Building first or Saturn will refuse to battle.
2. Lobby. Twin glowing "TEAM GALACTIC HQ" signs mark the south entrances, which converge on a shared lobby. The three receptionist desks are trap fights — each Receptionist fields a level 100 Venusaur. Fight them only for fun; they gate nothing.
3. Ground floor sweep. Recruit and Employee spawners cover the offices, honey room (Apiarits), canteen and the toxic-waste room (Garbageman). Grab the relic-coin chest near the west offices and read the canteen lectern for a laugh. Community-reported: a concealed route behind the kitchen's black curtains.
4. East-wing labs. Scientists and Researchers patrol the laboratories. Break the display cases for tumblestone and Mega Meteorid specimens, pull the Torn Journal from the library bookshelf — the first Torn Page hides on an upper shelf of the same library — and loot the gilded chest that rolls Spear Pillar loot (ancient balls, tumblestones).
5. The orbs. In the east-tower lab area, take the Adamant Orb from its item frame; the Lustrous Orb is in an invisible glow frame close by — sweep walls and floors with your crosshair until the outline appears.
6. Ride the bubble elevators. Soul-sand bubble columns in each tower are the main vertical routes; different columns stop at different floors, so try both sides of a shaft (community-reported: specific sides serve specific floors). The wall-of-levers rooms are server consoles — the 200+ levers are decorative, though the building does contain tripwire and sticky-piston circuitry; the library's book-triggered secret passage is community-reported and worth testing.
7. Mid floors. A gym with two Dynamax Power Spots flanks the central tower, and a west-side bookshelf on these floors holds another Trial Key. The "Trial of Valor: Ops Manual" lectern up here previews the Lake Valor trial — exactly what Saturn's Valor Proof unlocks after this dungeon.
8. Saturn, then the upper brass.Saturn (level 75-78) waits in the west tower — beat him for the Valor Proof, which reveals Lake Valor for the Azelf trial. Higher up, the Supervisor (west, Genesect drives) and Lab Director (east, memory discs) are repeatable up to three wins each. The Engineer deck sits below the Director; check the wall cabinet for the Locator Chip and the jungle barrel for an Ominous Trial Key (a Totem of Undying sits beside it).
9. Dormitories. The dormitory floors are lined with lootable nightstands and cabinets (generic Galactic table, one premium). The second Torn Page is in the top suite's chiseled bookshelf — easy to miss, check every slot. Two Gimmighoul chests on the west tower give Gimmighoul encounters for coin farming.
10. Cyrus. The central tower arena holds Cyrus: level 85-88 Dark/Flying offense (Honchkrow, Crobat, Gyarados, Weavile, Corviknight, Houndoom) backed by 5 Full Restores. Electric and Rock coverage shreds the flyers; watch Houndoom's Sludge Bomb on fairies. Your first victory is a guaranteed Red Chain — take it to the altars of Dialga, Palkia or Giratina to summon them. Only two career defeats are allowed, and the Red Chain drops on the first alone; the rematch instead rolls rare candies, TMs or an Ominous Trial Key.
Team Galactic Eterna Building
Sinnoh (opt-in datapack)recommended level 75+
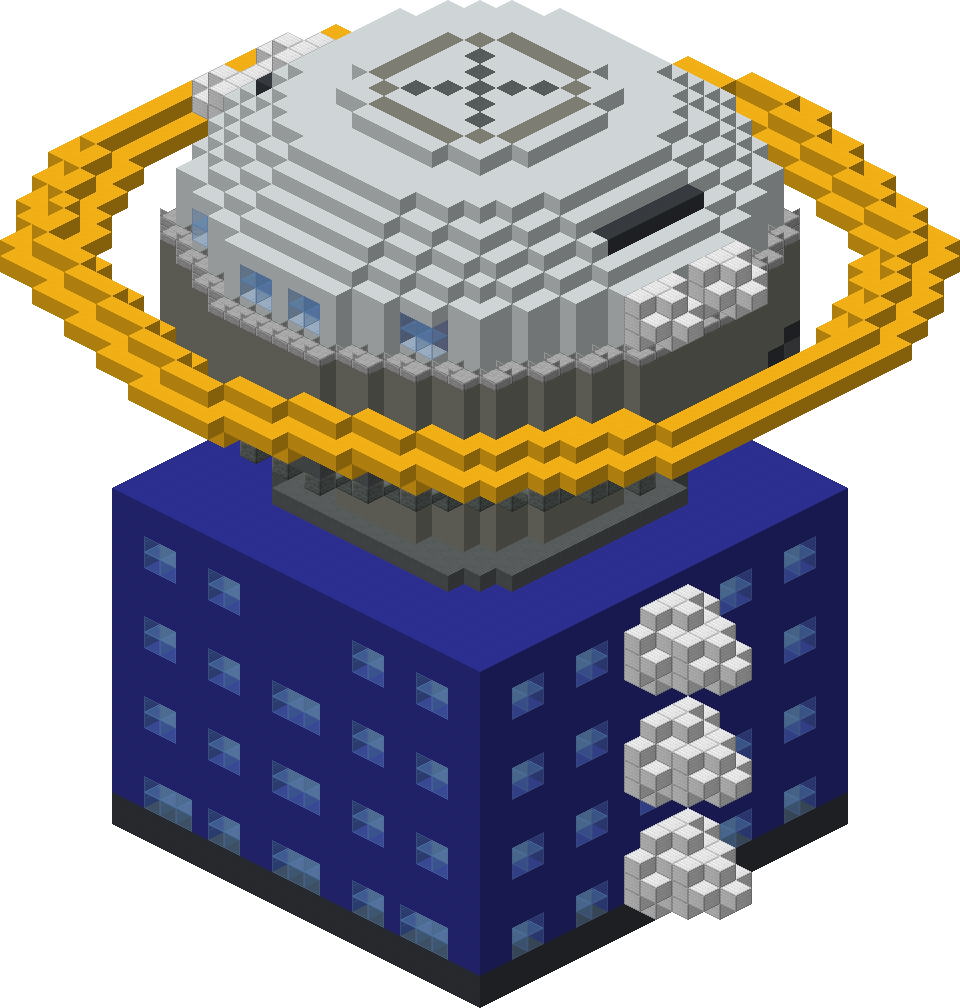
A 43×50×43 Team Galactic office tower and the second stop in the Galactic commander chain: her spawner only produces Jupiter after you have beaten Mars at the Wind Plant, and beating Jupiter in turn unlocks Saturn at Team Galactic HQ (defeat requirements verified in trainer data). Jupiter's signature drop is the Acuity Proof, "used to reveal its hidden location" per its tooltip — the key to finding Lake Acuity and Uxie. Below the rooftop arena sit three floors of grunt battles, two Zygarde Cells, and a hidden cache of Rotom appliance units.
click to explore in 3D (slice the roof off to see the rooms)
Finding it:
The building generates only in the Arid Highlands biome (terralith:arid_highlands), placed by random spread at roughly 90-chunk spacing. The dedicated locator is the Secret Key — its tooltip reads "High-tech device disguised as a normal key pinpointing the Team Galactic Eterna Building". Craft it shaped: a Zoom Lens top-right, a Cell Battery in the center, and two Normal Gems along the bottom row. Combine the key with an empty map at a cartography table to get a structure map (community-reported usage). With cheats, /locate structure cobbleverse:eterna_building works directly.
Rooftop boss. Six Pokemon, Lv 73-75, competitive held items; 4 Full Restores. Drops the Acuity Proof (signature item). Requires Mars defeated first; beating her unlocks Saturn.
Loot & collectibles
Seven gilded chests are placed in the tower; four roll the cobbleverse:structures/eterna_building loot table — two on the ground floor, one on floor 4, one in the rooftop arena. Each rolls Poké Balls (including Luxury, Premier and Slate Balls), healing items, Relic Coins, ores, and low-odds bonus pulls of a Stellar Tera Shard, Breeze Rod, type gems, mints, or evolution items.
Fixed placements verified in the structure file: exactly two Zygarde Cells sit inside Crafter blocks in the floor-2 machinery, with a Gold Blank Disc in a third crafter nearby. The hidden floor-4 chest holds three Rotom appliances — Fan Unit, Mow Unit and Wash Unit — plus a "Data Log: #479 ROTOM" lore book. A floor-2 bookshelf conceals a Trial Key among lore books; furniture caches yield Relic Coins, four Relic Coin Pouches, a Protein and a Zinc, and a floor-3 barrel is stuffed with Ghast Tears. A Gimmighoul Chest sits on floor 3, and Jupiter herself drops the Acuity Proof.
Walkthrough
Ground floor. The lobby spawner cycles five Team Galactic Recruits (Lv 55–65) and a second spawner in the side office cycles four Employees (Lv 61–68). Grab the two loot-table gilded chests here and check the blue drawer for loose Relic Coins before heading up.
Floor 2. The server room spawns Engineers (Steel-heavy, Lv 64–68) and the adjoining lab spawns Researchers (up to Lv 70). Open every Crafter block in the machinery banks: two hold the building's Zygarde Cells and one holds a Gold Blank Disc. The chiseled bookshelves by the lounge hide a Trial Key and three written lore books; the wall cabinet above holds Relic Coin Pouches and vitamins. The hidden cabinet reported here is community-reported — the room's 50-odd wall levers are decorative server switches in the pack data.
Floor 3. A single spawner cycles five Scientists (Lv 62–70, heavy Poison and Steel). Loot the mangrove barrel of Ghast Tears, the brewing stand (Awakening, Antidote), and interact with the Gimmighoul Chest.
Floor 4. Living quarters with a dozen armor stands (the armory), one more loot-table gilded chest, and two empty decoy chests. A painting on the north wall conceals the Rotom cache room (painting placement verified; the reveal mechanic is community-reported) — inside is the chest with the Fan, Mow and Wash Units. From here a soul-sand bubble elevator (verified: 32-block bubble column) carries you to the roof; a magma column nearby handles the descent.
Rooftop arena.Jupiter waits at fixed battle positions under the Galactic banners. She only appears once Mars is beaten. Her Lv 73–75 team leans Dark/Poison — Purugly, Gengar (Shadow Tag), Skuntank, Eviolite Golbat, Assault Vest Tyranitar and Life Orb Absol — and she burns through four Full Restores, so bring Fighting, Ground and Psychic coverage and watch for Sucker Punch on three of her six. A final loot chest sits behind the banner wall at the arena's edge. Her Acuity Proof drop points the way to Lake Acuity and Uxie; Saturn at Team Galactic HQ is your next stop.
Team Galactic Wind Plant
Sinnoh (opt-in datapack)recommended level 75+
The Team Galactic Wind Plant is COBBLEVERSE's take on Valley Windworks: a turbine facility on the Blooming Plateau that Team Galactic has seized to siphon power for the Red Chain project. It is a small four-step dungeon — three grunt-tier battles on the ground floor, then Commander Mars (max Lv. 75) upstairs — and it opens the Sinnoh commander chain: her guaranteed drop, the Verity Proof, reveals Lake Verity and starts the Mesprit questline, and beating her is the data-verified prerequisite for Commander Jupiter to spawn at all.
Come for the boss, stay for the shelves: the facility's chiseled bookshelves hide a Torn Page for the Old Journal (Giratina questline), two Trial Keys, three enchanted books, and a stack of Galactic lore books written by Cyrus and Mars herself.
click to explore in 3D (slice the roof off to see the rooms)
Finding it:
The Wind Plant generates only in the Blooming Plateau biome (terralith:blooming_plateau) and requires the opt-in Sinnoh datapack (COBBLEVERSE-Sinnoh-DP in datapacks/extra) to be enabled. Look for the wind turbines above the treeline.
Locator item: craft a Turbine Key — shaped recipe with 1x Electirizer (top right), 1x Magnet (center), and 2x Wind Charge (bottom left). The key is hard-bound to the cobbleverse:wind_plant structure: place it in the key slot of a LumyMon regional cartography table together with an empty map to receive a structure map pointing at the facility.
Command:/locate structure cobbleverse:wind_plant. Placement is random-spread with spacing 90 / separation 45 chunks.
Boss; always drops Verity Proof (Lake Verity locator). Intimidate Salamence holds Leftovers. Repeat wins past 5 can add a TM or Ominous Trial Key. Defeating her unlocks Commander Jupiter
Loot & collectibles
Three Gilded Chests roll the cobbleverse:structures/wind_plant table: Relic Coins, potions, Tasty Tails, a spread of Poke Balls (Fast, Heavy, Luxury, Dusk, Love and more), nuggets/ingots, Wind Charges and Breeze Rods, a chance at 2-4 Tera Shards of any type, and one guaranteed roll from the TM, evolution-item, or mint tables.
Bookshelf collectibles (open the chiseled bookshelves — all counts verified in structure data): 1x Torn Page (combines with a Torn Journal into the Old Journal for the Giratina/Turnback Cave chain), 2x Trial Key, and enchanted books of Riptide II, Unbreaking II, and Breach II, plus lore volumes on the Rotom Catalogue, bait seasoning, and Raikou hunting.
Boss reward: Mars always drops the Verity Proof, "used to reveal its hidden location" — take it to a regional cartography table with an empty map to chart Lake Verity for the Mesprit encounter. Rematches beyond five wins against her can also pay out a TM or an Ominous Trial Key.
Walkthrough
The plant is a 67x40x35 facility with a ground floor of labs and a raised boss arena. Three trainer spawners cover the ground floor; each pulls one trainer from a five-variant pool (levels 55-70), so every run's lineup differs — worst case is a Lv. 70 Scientist or Researcher.
Ground floor. Work through the three wings: a Team Galactic Recruit guards the lab beside the lectern, a Team Galactic Scientist holds the generator room, and a Team Galactic Researcher patrols the far wing (community-reported room order: entrance corridor, then the yellow main corridor, generator room on the right, bookshelf room last; compass directions vary with structure rotation). All three gilded chests are on the ground floor — two at floor level and one perched on a lab table.
Loot the shelves. Before heading up, click through every chiseled bookshelf: the Torn Page, both Trial Keys, and all three enchanted books sit in bookshelf slots, not chests. The lectern holds Mars's "Trial of Verity: Ops Manual," which spells out the post-dungeon chain: Verity Proof reveals Lake Verity, drive out the resident Hisuian Goodra for the Mesprit Plume, summon Mesprit for the Emotional Jewel. A free Cobblemon PC and an (unassembled) fossil machine monitor are also on this floor.
Boss: Mars. Stairs lead to her statue-flanked arena on the upper level. She runs a full six — Purugly, Weavile, Salamence, Crobat, Raichu, Espeon (Lv. 73-75, full IVs, competitive EV spreads) — leaning on Fake Out chip, Knock Off, and Protect stalling, with four Full Restores in the bag. Bring Ice or Fairy coverage for Salamence and something faster than Weavile. Her Verity Proof drop is guaranteed, and the win flags Commander Jupiter (Eterna Building) to appear next.
Wishing Weald
Base pack (Mega Showdown)recommended level any
The Wishing Weald is Mega Showdown's Dynamax structure: a small ruined garden plaza (single template piece, 28×12×28) whose centerpiece is a Wishing Star Crystal. Mining the crystal is the intended way to obtain a Wishing Star, the key ingredient of the Dynamax Band — the accessory that lets your Pokémon Dynamax in battle. There are no trainers or NPCs here; it is a pure loot-and-harvest stop, worth visiting early since the ruin also guarantees Zygarde Cells for the Zygarde Cube questline.
click to explore in 3D (slice the roof off to see the rooms)
Finding it:
No locator item exists for this structure — use /locate structure mega_showdown:wishing_weald. It generates on the world surface in biomes tagged #cobblemon:is_spooky: in this pack that resolves to Dark Forest (vanilla) and Pale Garden (added by VanillaBackport via #c:is_spooky); the other tag entries point to biome mods not installed here. Placement is a 30-chunk spread with 20-chunk separation at 0.5 frequency, so half of its grid cells roll empty — expect a real hike between sites. Walking into the structure grants the advancement Fairy-tale Forest, Here I Come!
Loot & collectibles
Wishing Star Crystal: the pack's template contains exactly one crystal, at the center of the plaza. Break it with any tool (no Silk Touch) and it drops one Wishing Star; with Silk Touch you get the Wishing Star Crystal block itself instead, so leave Silk Touch at home unless you want the decoration. Community guides report three crystals per site, but the current structure file holds one — treat higher counts as community-reported. Picking up a Wishing Star grants Falling Rocks? Nah, Free Power!
Gilded Chest (one, three blocks from the crystal — direction varies with the structure's rotation; loot table mega_showdown:wishing_weald/wishing_weald_chest): a guaranteed 1–2 Zygarde Cells, exactly one roll on the Exp. Candy set, and up to one roll each on ancient held items, evolution stones, and Mega Showdown held items (Clear Amulet, Lagging Tail, Grip Claw, Soul Dew, Adrenaline Orb).
Archaeology: four suspicious gravel blocks are buried at ground level around the plaza. Brush each for one roll on the site's dig table: Relic Coin (25/41), copper ingot (10/41), a random type gem (5/41), or a gold ingot (1/41). Bring a brush.
Walkthrough
The Weald is a single open-air piece — mossy stone, tuff and andesite ruins around a flowered courtyard — so there is nothing to unlock and no interior to clear. Head to the center of the 28×28 footprint: the Wishing Star Crystal sits at ground level with the Gilded Chest three blocks to one side. Mind your footing while digging: the ruin masonry includes five infested cobblestone blocks that release silverfish when broken, so avoid tearing down walls casually.
Sweep the courtyard with a brush for the four suspicious gravel spots (all at floor level, scattered around the crystal), loot the chest, and mine the crystal without Silk Touch for your Wishing Star.
The Dynamax Band chain: craft the Dynamax Band (shaped, verified in pack data) with three Pink Apricorns across the top, iron ingot / Wishing Star / iron ingot in the middle, and three Blue Apricorns across the bottom. Crafting it grants Go Big or Go Home! and unlocks Dynamaxing in battle. To raise a Pokémon's Dynamax Level afterwards, craft Dynamax Candy — four Exp. Candy S around a Max Mushroom (the mushroom comes from raid dens, not this structure).